Histopathological sections are divided into paraffin sections, frozen sections and vibrating sections according to different preparation methods.
The paraffin section preparation process includes steps such as material extraction, fixation, washing and dehydration, transparency, wax dipping, embedding, slicing and pasting, dewaxing, staining, dehydration, transparency, and sealing. Generally, it takes several days from collection and fixation to sealing and making a slide specimen.
Frozen section is a method that rapidly cools tissue to a certain hardness under low temperature conditions and then slices it. The production process does not require tissue fixation, dehydration, transparency, embedding and other procedures, avoids the decomposition of soluble substances in tissue cells, and preserves the original cell morphology. Compared with paraffin sections, it has an irreplaceable advantage in preserving the integrity of the antigen, especially in immunohistochemistry. Therefore, frozen section is also an ideal preparation method for fat staining, enzymatic histochemical staining, certain immunohistochemical staining and in situ molecular hybridization. The disadvantage is that the morphology of tissue cells is slightly inferior to that of paraffin sections.
Vibrosectioning is less discussed in the literature. The preparation method is to use a special vibrating microtome, which uses the principle of blade vibration to directly fix fresh living tissue in the slicing groove and slice it. This method can maintain sample activity and good cell morphology, providing good conditions for immunocytochemistry research and neurobiological research on spinal cord and brain slices, and is suitable for tissue electrophysiology and other research.
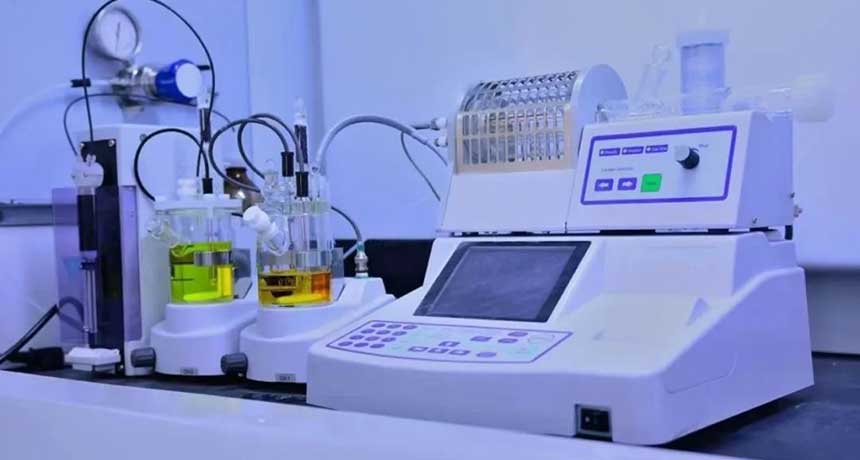
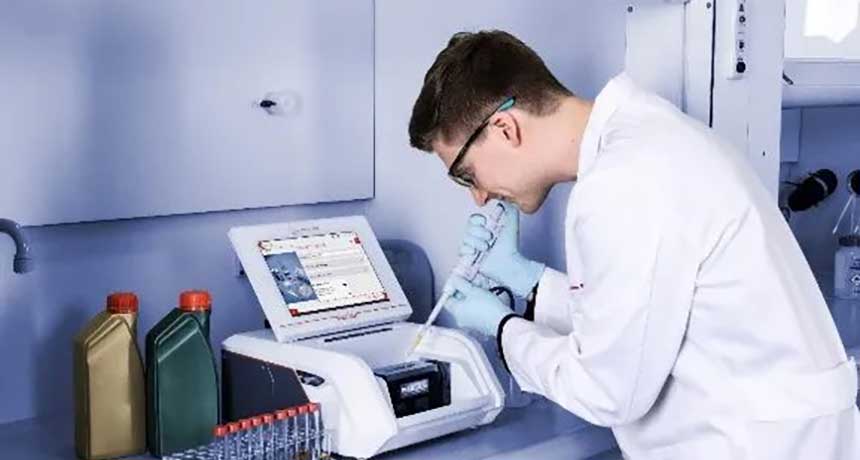
Different slicing methods require different instruments and tools due to different production processes. Here we mainly introduce to you the process of paraffin sectioning and the list of equipment required in the pathology department.
The paraffin sectioning method includes steps such as material extraction, fixation, washing and dehydration, transparency, wax dipping, embedding, slicing and pasting, dewaxing, staining, dehydration, transparency, and sealing.
1. Fixed
Use appropriate fixatives to impregnate fresh materials, coagulate or precipitate material components in cells and tissues, terminate all metabolic processes of cells, prevent cell autolysis or tissue changes, harden tissues, and maintain the structure of the living body as much as possible. The fixed time ranges from 1 hour to several days, usually from a few hours to 24 hours.
2. Washing and dehydration
After the tissue is fixed, the fixative solution that has penetrated into the tissue must be washed away. Otherwise, some of the fixative solutions left in the tissue will hinder staining, and some may cause precipitation or crystallization.
The tissue after fixation or washing is full of water. If the water is not removed, subsequent transparency, wax dipping and embedding cannot be carried out, because most of the transparent agents are benzene, and neither benzene nor paraffin can be fused with water, and the water will not be removed. Do not allow benzene to be immersed. Therefore, dehydration must be carried out before clearing and dipping into wax. Dehydration is the use of dehydrating agents to replace water in tissues to facilitate the penetration of organic solvents. Commonly used dehydrating agents are ethanol in a range of different concentrations.
The dehydration steps are: 80%, 90%, 95%, and 100% ethanol of various concentrations for 2 hours. This process can be completed automatically by a dehydrator.
3. Transparent
After the tissue is dehydrated, since ethanol is insoluble in paraffin, in order for paraffin to be immersed in the tissue block, it must go through a replacement process with a solvent that can both mix with alcohol and dissolve paraffin. Through the intermediary effect of this solvent, the paraffin in the tissue is replaced. of alcohol to achieve the purpose of paraffin immersing the tissue block. When the material block is immersed in this type of media immersion liquid, it will appear transparent. This liquid is called a transparent agent, and the process of dipping the transparent agent is called transparent.
The best clearing agent currently available is xylene. Usually the tissue is first soaked in a mixture of half and half pure alcohol and transparent agent for 1 to 2 hours, and then transferred to pure transparent agent for immersion.
4. Wax dipping and embedding
After the tissue is transparent, it is immersed in molten paraffin to allow the paraffin to penetrate into the tissue and replace the xylene in the tissue. This process is called wax dipping.
The melting point of paraffin used for wax dipping is 56°C, and the wax dipping should be carried out in a thermostat that is about 3°C higher than the melting point of paraffin wax.
Pour the melted paraffin into the embedding frame, use heated tweezers to place the wax-impregnated tissue material block with the cut side down. When the surface of the wax liquid solidifies, it will cool quickly. After complete solidification, it will be made into a tissue block containing tissue. Wax block.
5. Slice
Use a razor blade to trim the embedded wax block into a square or rectangular shape, cut it into 4~7um wax strips one after another on a microtome, gently lift them up with a brush and place them on paper.
6. Unfold, fish and bake slices
Exhibition: Use ophthalmic tweezers to pick up the wax tape and gently lay it flat on the water at 40-45°C. Use the tension and temperature of the water to naturally flatten the slightly wrinkled wax tape.
Fishing out slices: After the slices are fully flattened on the constant-temperature water, fish out the wax slices between the middle 1/3 and lower 1/3 of the slide, and pour off the remaining water on the slide.
Baking slices: Generally, bake the slices in a temperature oven at 60°C for about 0.5 to 1 hour to remove the paraffin that melts in the tissue gaps.
7. Dewaxing and hydration of sections
The dried sections need to be dewaxed and hydrated before they can be dyed in water-soluble dyes. If the dewaxing is not clean, the sections will not be easily colored or will be colored unevenly. Therefore, the xylene used for dewaxing must be replaced frequently. Therefore, before H.E dyeing, it is necessary to dewax with xylene, and then debenzene through gradient alcohol step by step until rehydration with distilled water.
8. Dyeing
Hematoxylin (Hematoxylin) and eosin (Eosin) staining is a routine staining for histological specimens and pathological section specimens, referred to as HE staining. After H.E staining, sections need to be dehydrated, transparent, and mounted.
9. Dehydration, transparency and sealing of sections
The stained sections cannot yet be observed under a microscope and need to be dehydrated through an alcohol gradient from low concentration to high concentration and made clear by xylene.
Take out the slices, wipe off excess xylene, drop a drop of neutral gum, and cover the slices with a coverslip.


